Dips are a powerful exercise for building upper body strength. They target the chest, triceps, and shoulders, making them a favorite for athletes and fitness fans. But while dips look simple, they carry a risk of injury if you use poor form or ignore important safety steps. Shoulder pain, joint stress, and even tendon strains are common problems for those who rush or skip basics. The good news is that most dip injuries can be prevented with smart preparation, attention to technique, and a focus on body awareness.
This article explores how to prevent injuries while doing dips, drawing on expert advice, practical experience, and science-backed strategies. Whether you are new to dips or have been doing them for years, you will learn how to protect your body, get better results, and build confidence in your workouts.
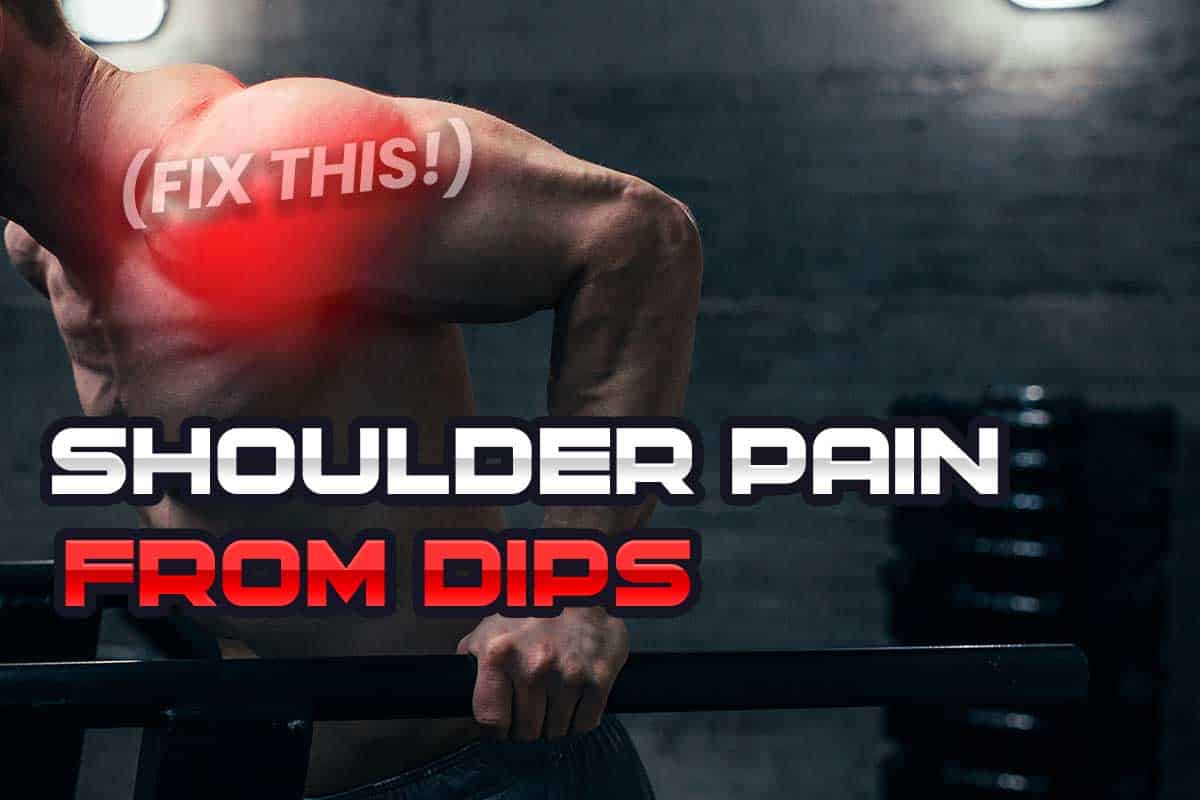
Why Dips Can Cause Injuries
Understanding why injuries happen during dips is the first step to prevention. Dips are a compound movement, which means they use several joints and muscle groups together. This is great for strength, but it also means that poor technique can put a lot of stress on areas like the shoulders, elbows, and wrists.
Common reasons for dip injuries include:
- Improper form: Allowing the elbows to flare out or dipping too low.
- Lack of warm-up: Starting dips with cold muscles and tight joints.
- Overloading: Using too much weight before your body is ready.
- Ignoring pain signals: Working through discomfort instead of stopping.
- Poor mobility: Tight muscles in the chest or shoulders limit safe movement.
Many beginners do not realize how much strain dips can place on the front of the shoulder (the anterior deltoid) and the rotator cuff. Even advanced athletes sometimes push through pain, risking chronic injury. By learning what causes these risks, you are already ahead in staying safe.
Preparing Your Body For Safe Dips
Warm Up Thoroughly
One of the simplest but most effective ways to prevent dip injuries is to warm up your upper body. Cold muscles are less flexible and more prone to tears or strains. Spend at least 5–10 minutes on dynamic movements, such as:
- Arm circles (forward and backward)
- Shoulder shrugs
- Scapular push-ups
- Gentle band pull-aparts
This will increase blood flow, raise your body temperature, and prepare your joints for the demands of dips.
Improve Shoulder And Chest Mobility
Good mobility in the shoulders, chest, and upper back is critical for safe dips. If your chest muscles are tight, your shoulders may round forward, increasing injury risk. Try these stretches before your workout:
- Doorway chest stretch: Stand in a doorway, place your arms on the frame, and gently lean forward.
- Cross-body shoulder stretch: Pull one arm across your chest and hold.
- Lat stretch: Hold onto a stable object and lean back to stretch the sides.
Regular stretching can improve your dip depth safely and reduce joint stress.
Strengthen Supporting Muscles
Many people focus only on the main muscles used in dips, but supporting muscles are just as important for injury prevention. Strengthen your rotator cuff, scapular stabilizers, and core with exercises like:
- External rotations with resistance bands
- Plank holds or side planks
- Face pulls
- Scapular retractions
A strong support system helps keep your joints in the right position during dips.

Mastering Dip Technique
Even strong athletes get injured if their form is off. Perfecting your dip technique is key to staying pain-free and building strength safely.
Hand Placement
Start with your hands slightly wider than shoulder-width apart. This position allows you to target your chest and triceps without overloading your shoulders. If your grip is too wide, your shoulders take more stress. Too narrow, and your elbows may flare out.
Shoulder Position
Keep your shoulders down and back throughout the movement. Avoid letting your shoulders shrug up toward your ears. Imagine “packing” your shoulders by squeezing your shoulder blades together and down.
Elbow Angle
Aim for a 70–90 degree bend at the elbows at the bottom of the dip. Do not go too deep, especially if you are new to dips or have a history of shoulder pain. Going lower than parallel can stretch the front of the shoulder, leading to injury.
Body Posture
Maintain a slight forward lean if you want to target your chest, or keep your torso more upright for triceps focus. But do not let your lower back arch or your legs swing. Keep your core tight and your movements controlled.
Controlled Motion
Lower yourself slowly, pause briefly at the bottom, and press up with steady force. Avoid bouncing or using momentum. Fast, jerky movements increase the risk of muscle tears.
Example: Correct Vs Incorrect Dip Form
Here’s a quick comparison of safe vs risky dip techniques:
| Correct Form | Incorrect Form |
|---|---|
| Shoulders down and back | Shoulders shrugging up |
| Elbows at 70–90 degrees | Going too deep or not deep enough |
| Core braced, steady movement | Loose core, swinging legs |
Choosing The Right Dip Variation
Not all dips are the same. Some are much harder on your joints than others. Picking the right variation for your level and goals is a smart way to avoid injuries.
Parallel Bar Dips
These are the classic gym dips, with hands on two bars. Good for most people, but can stress the shoulders if you go too deep or flare your elbows.
Bench Dips
Bench dips are easier but place more load on the anterior shoulder. They are often riskier for those with shoulder issues, especially if you lower too far or keep your legs straight.
Ring Dips
Ring dips are advanced. The instability makes them much harder and riskier for beginners. Only attempt if you have strong stabilizers and perfect form on stable dips.
Assisted Dips
Use an assisted dip machine, resistance bands, or a partner to take some bodyweight off. This is excellent for learning form without overloading your joints.
Comparison: Dip Variations And Joint Stress
| Dip Variation | Shoulder Stress | Best For |
|---|---|---|
| Parallel Bar Dips | Medium | Intermediate to advanced |
| Bench Dips | High (especially with straight legs) | Beginners (with caution) |
| Ring Dips | Very High | Advanced athletes |
| Assisted Dips | Low | All levels, rehab |
Progression: Build Up Gradually
Trying to do too many dips, too soon, is a classic way to get hurt. Your muscles, joints, and tendons need time to adapt. Follow a progressive overload plan:
- Start with assisted dips if you cannot do at least 6–8 strict bodyweight dips.
- Increase reps slowly—add only 1–2 reps per week.
- Add weight only when ready—use a dip belt or weighted vest after you can do 12–15 bodyweight dips with perfect form.
- Listen to your body—if you feel pain (not just muscle fatigue), stop and rest.
A slow, steady approach helps prevent tendonitis and overuse injuries.
Smart Equipment Choices
The equipment you use can make a big difference in safety.
Sturdy Bars
Use bars that are solid, do not wobble, and are at a comfortable width. If the bars are too far apart, you may strain your chest and shoulders. Too close, and your elbows may not track properly.
Grips
Some bars have textured or rubberized grips. This reduces slipping and helps you maintain control. If your hands sweat a lot, consider using chalk or gloves.
Height
The bars should be high enough that your feet do not touch the ground during the movement, but not so high that you need to jump down after each set. Jumping off high bars can stress your knees and ankles.
Resistance Bands
For assisted dips, use bands that are thick enough to give real support, but not so tight that they pull you out of position.
Data: Dip Injuries By Equipment Type
A study published in the Journal of Strength and Conditioning Research found:
| Equipment | Injury Rate (%) |
|---|---|
| Parallel Bars (stable) | 2.1 |
| Bench Dips | 3.8 |
| Rings | 6.0 |
| Assisted Machines | 0.5 |
The data shows that more stable equipment generally means lower injury risk.
Listening To Your Body
One of the most overlooked skills in preventing injuries is knowing when to stop. Pain during dips is not normal. If you feel a sharp, stabbing, or deep ache in your shoulders, elbows, or wrists, stop immediately.
Common Warning Signs
- Sudden shoulder pain during the dip or at the bottom position
- Elbow discomfort that does not go away after resting
- Clicking or popping sensations in the joints
- Numbness or tingling in the arms or hands
Ignoring these signs and “pushing through” is a fast track to serious injury. Instead, rest, ice, and consult a professional if symptoms persist.
Recovery And Rest
Muscles and tendons need time to heal and grow stronger. Do not do dips every day, especially if you are new to the exercise. Aim for 2–3 sessions per week, with at least one full rest day in between.
Advanced Tips Most Beginners Miss
Many guides cover the basics, but there are some less obvious ways to keep dips safe and effective:
1. Train Scapular Control Separately
The scapula (shoulder blade) should move smoothly during dips. Poor scapular control is a hidden cause of shoulder pain. Practice scapular push-ups and banded retractions to train this movement.
2. Use Eccentric Training
Lowering yourself slowly (the eccentric phase) builds control and tendon strength. Try “negative dips” by jumping to the top position and lowering yourself as slowly as possible.
3. Track Range Of Motion
Use your phone to record your dips from the side. Check that you do not go too deep or let your shoulders round forward. This feedback is more accurate than guessing.
4. Address Imbalances
Many people have one shoulder that is stronger or more mobile than the other. This can cause uneven dips and injury. Add single-arm strength and mobility work to your routine.
5. Periodically Take A Break
Even if you love dips, taking a 1–2 week break every few months can help your tendons recover and prevent chronic overuse injuries.

Mistakes To Avoid
You can prevent most dip injuries by avoiding these common mistakes:
- Going too deep: Dropping below parallel puts the shoulders in a risky position.
- Flaring elbows out: This stresses the shoulder joint.
- Ignoring pain: Pain is a warning, not a challenge.
- Adding weight too soon: Build a base of strength first.
- Skipping warm-ups: Cold muscles are much easier to injure.
- Neglecting mobility: Tight muscles pull joints out of alignment.
When To See A Professional
If you have a history of shoulder injuries, joint pain, or are not sure about your form, consider working with a physical therapist or certified trainer. They can check your technique, spot mobility problems, and design a safe progression for your needs.
Also, if you experience ongoing pain, swelling, or loss of motion after doing dips, do not wait. Early treatment often leads to faster recovery and less long-term damage.
Real-world Example: How Smart Progression Prevented Injury
A beginner named Mark wanted to do dips but had struggled with shoulder pain in the past. Instead of jumping in, he started with assisted dips, used resistance bands for support, and focused on perfect form. He spent two months building up strength, stretching his chest and shoulders daily, and checking his form with video.
By the time he switched to bodyweight dips, he had no pain and could do 10 strict reps safely.
Mark’s story shows that patience and attention to detail make a big difference. Many people could avoid injuries if they followed a similar approach.
Additional Resources
For more on exercise safety and shoulder health, check out this guide from the American Council on Exercise.
Frequently Asked Questions
What Muscles Do Dips Work?
Dips mainly work the chest, triceps, and shoulders. They also use the upper back and core for stability. How you lean your body changes which muscle gets more work. A forward lean targets the chest more, while a straight posture hits the triceps.
Are Dips Bad For Your Shoulders?
Dips are safe for most people if done with proper form and shoulder-friendly depth. But dropping too low or using poor technique can stress the front of the shoulder and cause pain. People with past shoulder injuries should use extra caution or try assisted variations first.
How Deep Should I Go During Dips?
A good guideline is to lower yourself until your upper arms are parallel to the ground (about 70–90 degrees at the elbow). Going deeper increases injury risk, especially for the shoulders. Only go lower if you have great mobility and no pain.
Can I Do Dips Every Day?
It is not recommended to do dips every day, especially for beginners. Your muscles and joints need time to recover. 2–3 times per week, with rest days in between, is best for most people.
What Is The Safest Dip Variation For Beginners?
Assisted dips (using a machine or resistance bands) are the safest for beginners. They let you learn correct form without too much strain. Parallel bar dips are next, but only after you can do several assisted reps with good technique.
Building strength and avoiding injury is a long-term journey. By applying the steps in this guide, you can enjoy the benefits of dips while keeping your joints healthy for years to come. Listen to your body, focus on form, and progress at your own pace—you’ll thank yourself later.
