Choosing the right dip station is more than just picking a piece of fitness equipment. It’s about finding the perfect match for your body, space, and training goals. Many people rush into buying the first dip bar they see, only to regret it when it wobbles, doesn’t fit their home, or doesn’t allow for the exercises they want.
I’ve helped beginners and seasoned athletes alike select dip stations, and I’ve seen firsthand how the right choice can boost results—and how the wrong one can lead to frustration or even injury.
In this guide, you’ll discover exactly what makes a dip station right for you. From stability and weight capacity to portability and grip options, I’ll break down every factor that matters. Whether you’re fitting out a home gym or adding to a commercial space, you’ll learn how to spot hidden pitfalls, compare top models, and avoid the common mistakes that waste money and time.
Let’s make sure you choose a dip station that helps you reach your fitness goals safely and efficiently.
Why The Right Dip Station Matters
A dip station isn’t just another piece of metal in your home gym. It’s a tool that supports your bodyweight through intense exercises like dips, leg raises, and even assisted push-ups. The right dip station will feel secure, comfortable, and adaptable to your needs. The wrong one can wobble, pinch your hands, or even collapse under stress.
For beginners, a stable dip bar builds confidence. For advanced users, a versatile station opens up new training possibilities. According to a study in the Journal of Strength and Conditioning Research, bodyweight exercises like dips can increase upper body strength and muscle activation—if done with proper form and equipment.
That’s why the choice matters.
Key Factors When Choosing A Dip Station
1. Stability And Construction Quality
If your dip station wobbles, every rep becomes risky. Look for models made of heavy-duty steel with wide bases. A good dip station should not shake or tilt during use. For home setups, stations with rubber feet help prevent sliding and protect your floors.
Welded joints are stronger than bolted ones. Check the product description for words like “reinforced frame” or “commercial-grade steel. ” If possible, read user reviews to see if others mention stability issues.
2. Weight Capacity
Not all dip stations are created equal. Some hold as little as 200 pounds (90 kg), while commercial models handle 500 pounds (225 kg) or more. Always choose a dip station with a weight capacity at least 20% higher than your body weight. This extra margin is especially important if you plan to use a weight belt or hold a dumbbell between your feet for added resistance.
Here’s a quick comparison of weight capacities:
| Dip Station Type | Average Weight Capacity |
|---|---|
| Portable Parallettes | 250-300 lbs (113-136 kg) |
| Basic Standalone Bars | 300-400 lbs (136-181 kg) |
| Heavy-Duty Power Towers | 400-600 lbs (181-272 kg) |
| Wall-Mounted Models | Up to 600 lbs (272 kg) |
3. Size And Space Requirements
Before you buy, measure your available space. Dip stations come in many shapes and sizes:
- Compact parallettes are small and portable, great for limited spaces.
- Freestanding dip bars need more room but offer stability.
- Power towers combine pull-up, dip, and push-up stations but can take up a lot of floor space.
- Wall-mounted dip bars save space but require solid walls and proper installation.
Allow at least 2 feet (60 cm) of clear space around the station for safe movement. Don’t forget to check the ceiling height if you’re buying a tall power tower.
4. Adjustability
Not all bodies are the same. An adjustable dip station lets you change the width or height of the bars. This is important for users of different sizes or for families sharing one station. Adjustable bars also allow you to switch up your grip and target different muscles.
Some premium dip stations let you adjust the angle of the bars for exercises like neutral-grip dips or angled push-ups. This versatility can help prevent boredom and plateaus in your training.
5. Grip Design And Comfort
Pay close attention to the grips. Thin, slippery bars can cause hand fatigue or blisters. Look for:
- Thick, padded grips for comfort and control
- Non-slip textures or rubber coatings
- Ergonomic curves that fit your hand naturally
If you sweat a lot, textured grips make a big difference. A little extra comfort leads to more reps and better results.
6. Portability And Storage
If you need to move your dip station often, portability matters. Lightweight parallettes or foldable dip bars are ideal for small apartments or shared spaces. Some models can be disassembled quickly for storage under a bed or in a closet.
Heavy-duty power towers are less portable but provide maximum stability. Decide what’s more important for you: easy storage or rock-solid performance.
7. Versatility And Exercise Options
The best dip stations do more than dips. Many allow you to perform:
- Knee or leg raises for abs
- Incline push-ups for chest
- Rows for back
- L-sits for core
Some models even have attachments for resistance bands, TRX straps, or even pull-up bars. If you want a full-body workout from one piece of equipment, choose a versatile station with multiple exercise options.
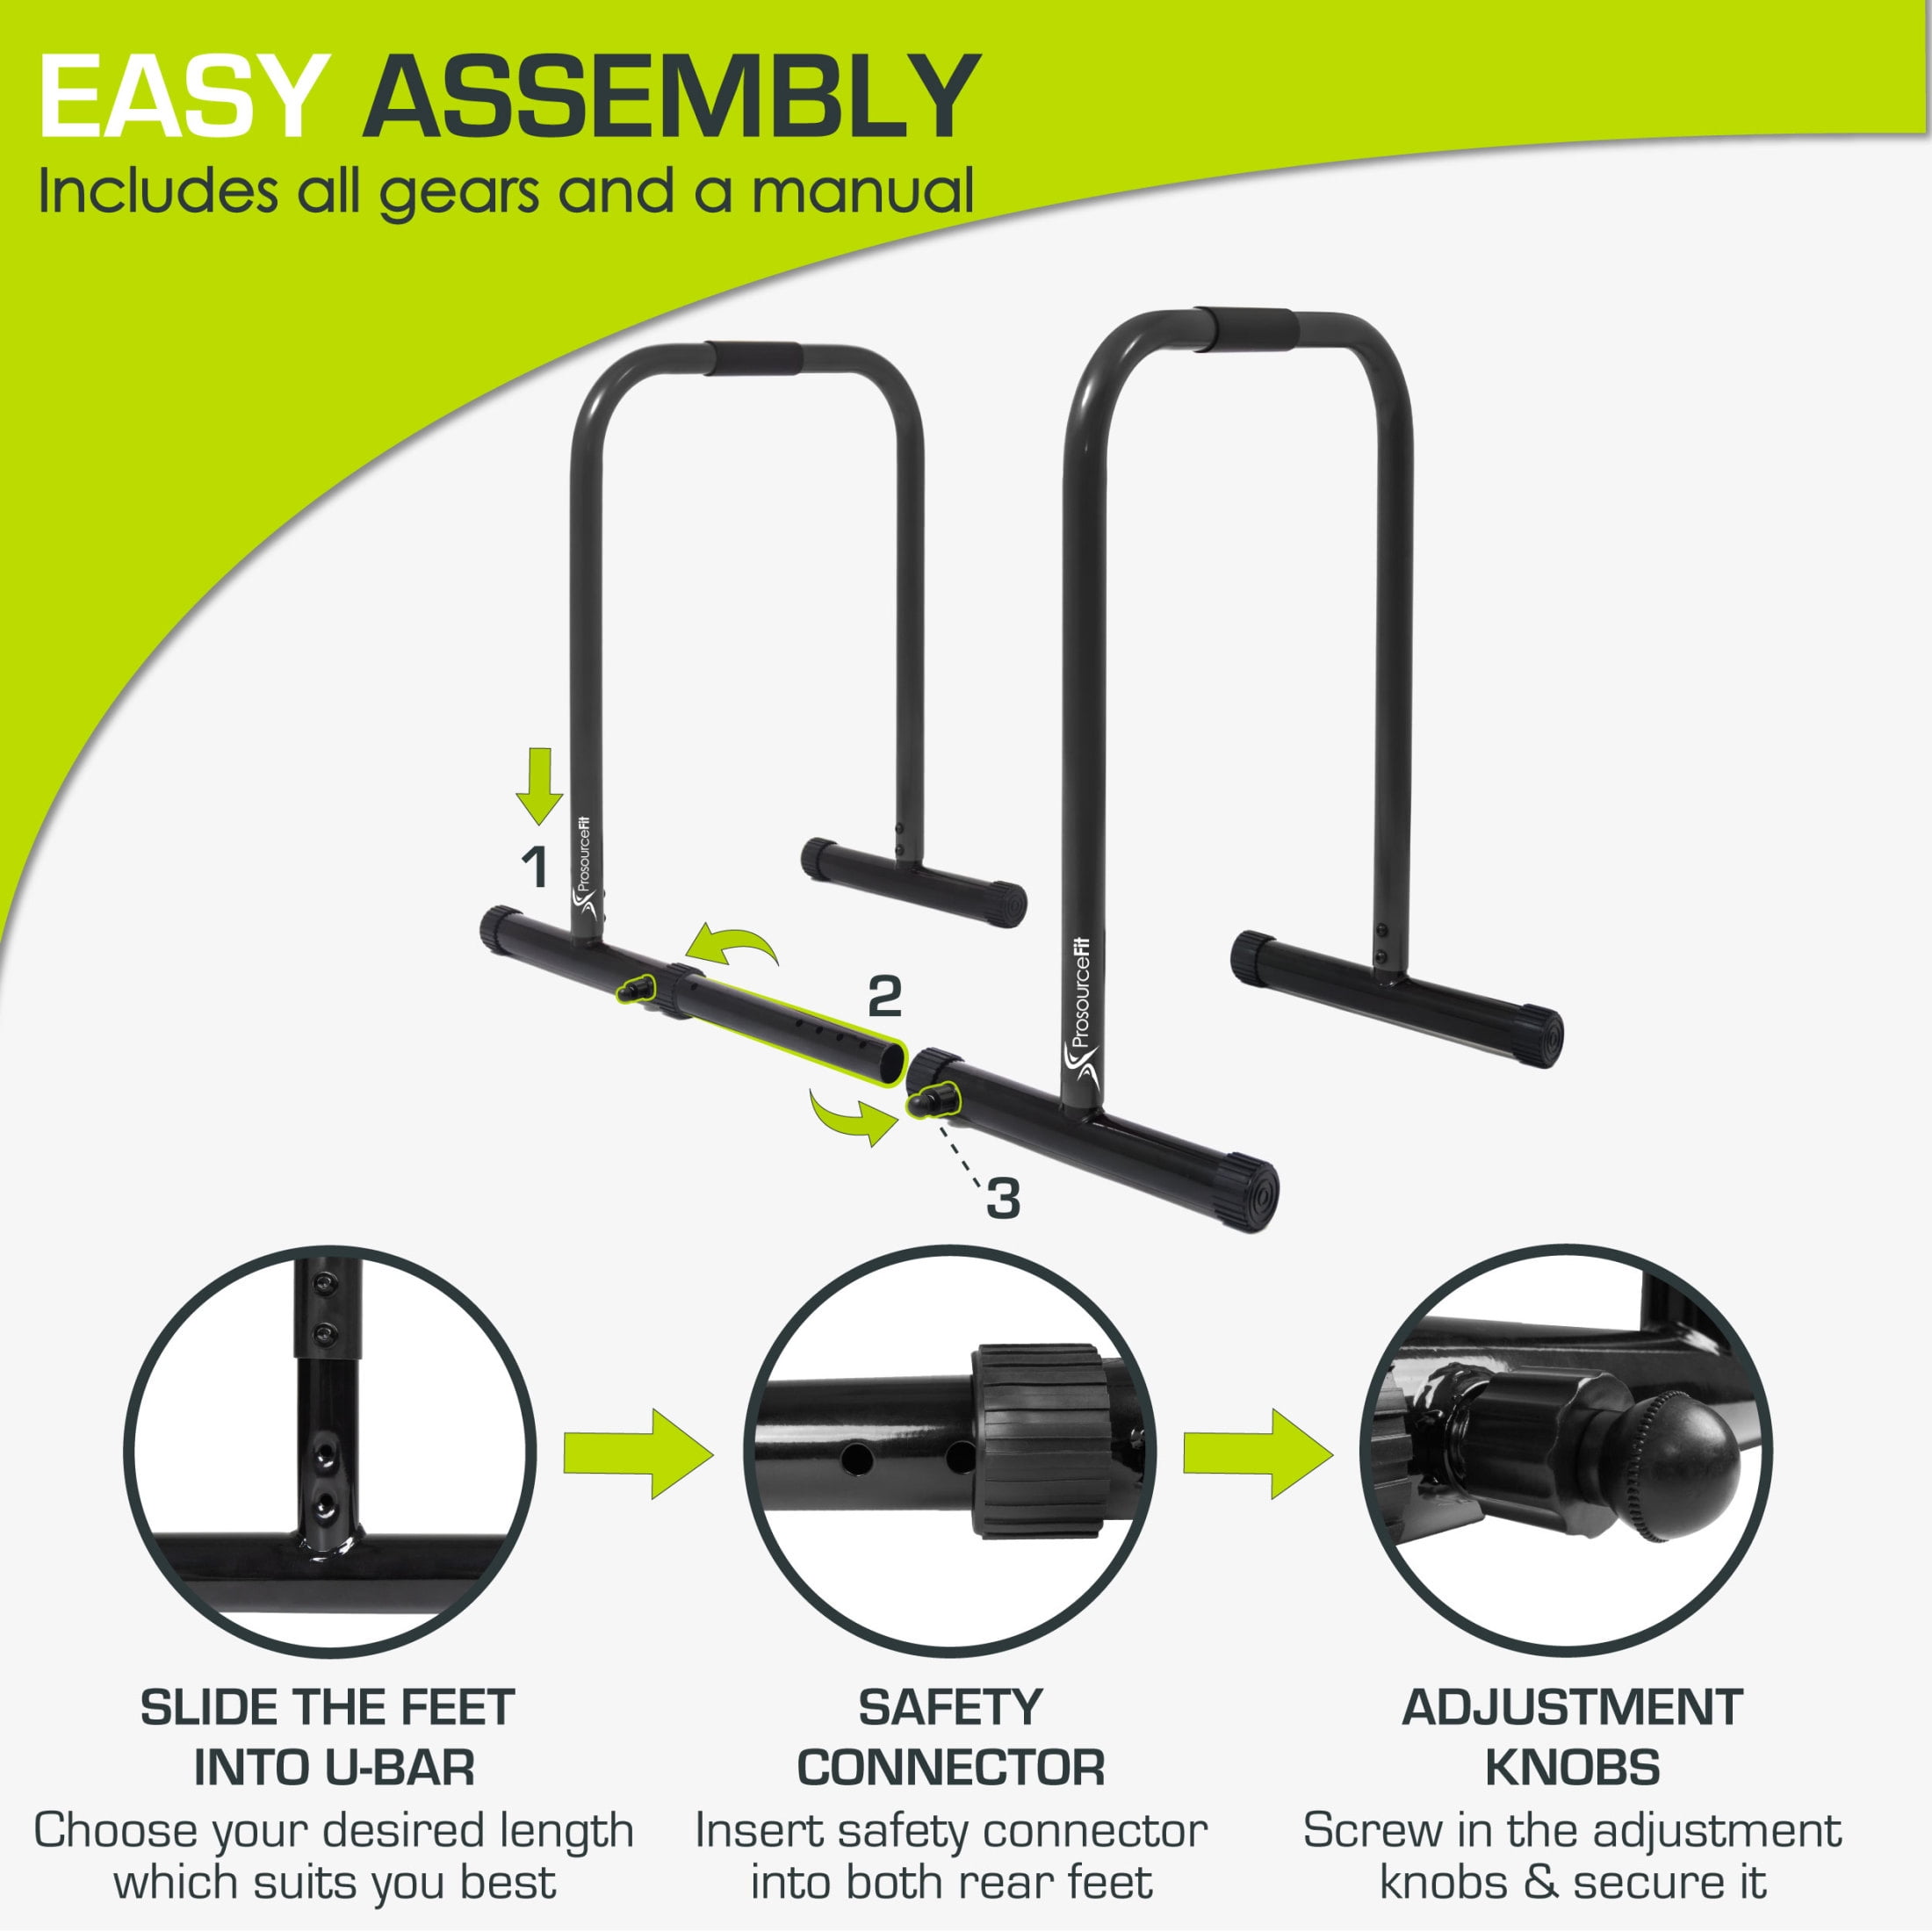
8. Assembly And Installation
Some dip stations come almost fully assembled. Others require tools and patience. Before buying, check:
- Are all tools included?
- How many pieces are there?
- Are the instructions clear?
If you’re not handy, avoid wall-mounted models unless you can get help. Poor installation can lead to injury or damage to your wall.
9. Price And Value For Money
Dip stations range from $40 for basic parallettes to over $400 for commercial towers. Higher price doesn’t always mean better quality, but extremely cheap stations often cut corners on materials and stability.
Think about:
- How often will you use it?
- Will it last for years?
- Does it offer features you’ll actually use?
A mid-range dip station ($100-$200) often gives the best balance of durability and value.
10. User Reviews And Brand Reputation
Real-world experience is valuable. Look for brands with solid reputations in the fitness community. Read user reviews, especially about long-term durability, customer service, and any issues with returns or replacements.
Avoid unknown brands with no warranty or poor support. A reliable warranty (at least 1 year) shows the company stands behind their product.
Comparing Popular Dip Station Types
To make your decision easier, let’s compare the main types of dip stations:
| Type | Pros | Cons | Best For |
|---|---|---|---|
| Parallettes | Lightweight, portable, inexpensive | Lower weight capacity, less stable for dips | Travelers, beginners, small spaces |
| Freestanding Dip Bars | Good stability, adjustable width on some models | Requires more floor space | Home gyms, most users |
| Power Towers | Multi-exercise, high weight capacity | Expensive, large footprint | Serious trainees, full-body workouts |
| Wall-Mounted | Saves space, very stable if installed properly | Permanent installation, not portable | Dedicated gym areas |
Common Mistakes To Avoid
1. Ignoring Weight Capacity
It’s tempting to save money, but buying a station with a low weight limit can be dangerous. Always check the stated capacity, and remember it should be higher than your body weight—especially if you plan to add weights.
2. Overlooking Space Needs
Many people underestimate the space required for a dip station. Measure your area before you buy, and consider doorways, ceilings, and other equipment nearby.
3. Choosing The Wrong Type For Your Goals
If you only want to do dips, a basic model is fine. If you want a full-body workout, a power tower or versatile station is better. Match your choice to your training style, not just your budget.
4. Forgetting About Comfort
Uncomfortable grips or awkward bar spacing can ruin your workout. Don’t assume all dip bars are the same—test the grip if you can, or check detailed photos and reviews.
5. Skipping Assembly Instructions
Rushing assembly can lead to loose bolts or unsafe structures. Take time to follow instructions, and double-check all connections before your first workout.
Special Considerations For Home Gyms
Setting up a home gym? Here’s what you should think about:
- Noise: Some dip stations squeak or move on hard floors. Look for models with rubber feet or pads.
- Floor protection: Heavy dip bars can dent wood or tile floors. Add a rubber mat under the station.
- Ceiling height: Power towers can be over 7 feet (2.1 m) tall. Measure before you buy.
- Sharing: If more than one person will use the station, adjustable models are best.
Tips For Maximizing Your Dip Station
1. Warm Up First
Always warm up your shoulders, elbows, and wrists before using your dip station. This reduces the risk of injury and helps you perform better.
2. Start With Assisted Variations
If you can’t do a full dip yet, use resistance bands or a chair for support. This builds strength safely and keeps your form solid.
3. Mix Up Your Grip
Try different grip widths or angles (if your station allows) to target your chest, triceps, and shoulders from new angles. Variety prevents boredom and plateaus.
4. Keep It Clean
Wipe down grips after each session. Sweat and chalk can break down padding and make bars slippery.
5. Check For Wear
Every few months, inspect your dip station for loose bolts or cracks. Early maintenance prevents bigger problems.

Real-world Examples And Insights
The Height Factor
Many beginners forget to check the height of their dip station. If the bars are too low, your feet might touch the ground, making full dips impossible. If they’re too high, it can be hard to get on the bars safely, especially for shorter users.
Choose a model where your legs can hang straight without touching the floor. Some freestanding dip bars have adjustable height—this is ideal for families or shared gyms.
The Hidden Value Of Accessories
Some dip stations come with extras like resistance bands, wall anchors, or even workout guides. While these aren’t always necessary, they can add value—especially for beginners who want to start strong without buying extra gear.
But don’t let accessories distract you from the basics: stability, comfort, and durability always come first.
Portable Vs. Permanent
If you’re renting or move often, a portable dip station is a wise choice. Foldable parallettes or lightweight models can travel with you. On the other hand, if you have a dedicated gym space, a wall-mounted or heavy-duty tower offers the best performance and longevity.
How To Test A Dip Station Before You Buy
Whenever possible, test the dip station in person. Here’s what to check:
- Grip the bars and give them a firm shake—do they wobble?
- Stand on the base to see if it feels solid.
- Try a few dips (or supported holds) to see if the bar spacing feels natural.
- If you sweat, see if the grips stay secure.
If you’re buying online, look for clear return policies and user photos. Some brands have virtual demonstrations or customer videos—watch these to see the product in action.
Dip Station Maintenance And Safety Tips
- Tighten all bolts every few months.
- Avoid dropping heavy weights on the station.
- If you notice any bending or cracks, stop using it until repaired.
- For wall-mounted bars, check wall anchors yearly.
- Don’t let children play on the dip station unsupervised.
Regular checks and simple maintenance can add years to the life of your dip station.
Best Brands To Consider
While there are many brands out there, some consistently stand out for quality and customer service:
- Lebert Fitness: Known for high-quality parallettes and stable dip bars.
- Body-Solid: Offers commercial-grade power towers with excellent warranties.
- Sportsroyals: Popular for affordable home gym dip stations and power towers.
- ProsourceFit: Great balance of price and durability for home users.
- XMark Fitness: Durable wall-mounted and freestanding models.
Always buy from authorized dealers to ensure you get a real warranty and support.
Dip Station Accessories That Boost Results
Some accessories can make your dip station even more effective:
- Resistance bands: Help beginners do assisted dips or add resistance for advanced users.
- Weighted vests: Add challenge as you get stronger.
- Grip pads or gloves: Protect your hands from blisters.
- Floor mats: Prevent sliding and protect your floors.
- Chalk: Keeps hands dry during long sessions.
Choose only the accessories you’ll use—don’t overload your space with unnecessary gear.
Making Your Final Decision
Choosing the right dip station means balancing your space, budget, and workout style. Start with the basics: stability, weight capacity, and comfort. Then think about adjustability, portability, and exercise variety. Read real reviews and check return policies before you buy. If you make a careful choice, your dip station will serve you for years—helping you build strength, muscle, and confidence every step of the way.
For more technical information about exercise equipment standards, you can visit the Wikipedia Physical Fitness page.

Frequently Asked Questions
What Is The Best Dip Station For Small Apartments?
For small spaces, parallettes or foldable dip bars are best. They’re compact, lightweight, and easy to store under a bed or in a closet. Some even have quick-release pins for fast setup and breakdown. Just make sure the weight capacity fits your needs.
Can Beginners Use Dip Stations Safely?
Yes, beginners can use dip stations safely if they start with assisted dips or support their feet on a chair. Choose a stable model with comfortable grips, and always focus on good form. If you’re unsure, ask a trainer to check your technique.
How Wide Should The Dip Bars Be?
Most dip bars are 18 to 24 inches (45 to 60 cm) apart. For most people, shoulder-width or slightly wider is ideal. Adjustable models let you change the width for comfort. If the bars are too wide or too narrow, you may put strain on your shoulders.
Are Wall-mounted Dip Stations Better Than Freestanding Ones?
Wall-mounted dip stations are more stable and save space, but they require solid installation and can’t be moved. Freestanding dip bars are portable and don’t damage your walls, but may take more floor space. Choose based on your room, wall strength, and need for portability.
How Do I Maintain My Dip Station?
Check bolts and joints every few months, wipe grips after workouts, and look for signs of wear like cracks or bending. For wall-mounted models, check anchors yearly. Keeping your dip station clean and tight ensures safety and extends its life.
Choosing a dip station is an investment in your health and fitness. With the right information, you can find a model that fits your body, your home, and your goals—making every rep count.
