Starting a new exercise can feel exciting—and a little scary. If you’re a beginner and you see a dip station at the gym or online, you might wonder: “Is this safe for me?” Dips are famous for building strong arms, chest, and shoulders. But you may also hear stories about injuries or sore joints from people who tried dips too soon.
The truth is, dip stations can be safe for beginners—if you know what you’re doing. Many people jump into dips without preparation and end up hurting their shoulders, wrists, or elbows. But with the right approach, you can avoid these problems, progress safely, and make dips a powerful part of your workout.
Let’s explore how beginners can use dip stations without injury. We’ll look at the risks, benefits, step-by-step guidance, and expert tips to help you start your dip journey safely and confidently.
What Is A Dip Station And Why Do People Use It?
A dip station is a simple piece of equipment—usually two parallel bars set at about waist height. You hold the bars, lift yourself up, and then lower and raise your body using your arms. This movement, called a dip, works your triceps, chest, shoulders, and core.
People use dip stations because:
- Dips build upper body strength quickly.
- You only need your body weight—no extra weights required.
- They target muscles that push-ups and bench presses might miss.
- Dip stations are compact and fit in most gyms or even at home.
However, dips can be tough for beginners. The movement asks for strong shoulders and stable joints. If you have not built enough strength or use poor technique, you risk injury.
Common Injuries From Dip Stations And Why They Happen
Understanding potential injuries helps you avoid them. Here are the most common problems beginners face with dip stations:
1. Shoulder Strain Or Impingement
The shoulders move through a wide range of motion during dips. If you go too deep, or your shoulders are weak, you can pinch tendons or stress the joint.
2. Wrist Pain
Beginners often grip the bars too tightly or hold their wrists at awkward angles. This can lead to pain or even sprains.
3. Elbow Tendonitis
Lowering too fast or locking the elbows at the top can cause inflammation around the elbow joint.
4. Chest Muscle Strain
If you suddenly push too hard, the chest muscles (pectorals) can overstretch or tear.
5. Falling Or Loss Of Balance
Without enough control, you might slip or lose balance and fall, especially as you get tired.
Most of these injuries happen because of poor form, lack of preparation, or trying to do too much too soon.

Are Dip Stations Safe For Beginners?
The safety of dip stations depends on three main factors:
- Your current strength level
- Your mobility and joint health
- How you use the dip station
If you have basic upper body strength, flexible shoulders, and follow good technique, dip stations can be safe. But if you ignore your body’s limits, you increase the risk of injury.
Many beginners make the mistake of treating dips like push-ups. Dips are much harder because you lift almost all your body weight with your arms. Even people who can do 20 push-ups might struggle to do 1-2 clean dips.
Realistic Expectations: What Beginners Should Know
Beginners often believe they can jump onto the dip station and crank out reps. In reality, most people need time to build the required strength and control.
Here’s what you should expect as a beginner:
- Doing even one full dip with good form is a challenge.
- Progress is slow but steady with consistent practice.
- You may need to start with easier versions of the dip.
- Listening to your body is critical—pain is not a sign of progress.
Trying advanced dips too early can set you back weeks or months due to injury.
How To Prepare Your Body For Dip Stations
Preparation is the key for beginners. You need to build a foundation before using the dip station safely.
1. Strengthen Supporting Muscles
Dips require strong:
- Triceps
- Chest
- Shoulders
- Core
You can build these muscles with:
- Push-ups (standard and incline)
- Bench dips (using a chair or bench)
- Plank holds
- Shoulder taps
Aim for at least 10-15 clean push-ups and 20-second planks before moving to dip stations.
2. Improve Shoulder Mobility
Stiff shoulders are a hidden danger. You can improve mobility with:
- Arm circles
- Shoulder stretches (such as doorway stretches)
- Resistance band pull-aparts
Spend 5-10 minutes warming up your shoulders before every dip session.
3. Practice Proper Form Without Full Body Weight
Try “assisted dips”:
- Place your feet on the ground or a bench while holding the bars.
- Lower and raise your body, using your legs to help if needed.
- Focus on slow, controlled movements.
This helps you learn the right form with less risk.
Step-by-step Guide: Safe Dip Station Progression For Beginners
Jumping straight into full dips is risky. Follow this step-by-step progression to use dip stations safely:
Step 1: Master The Bench Dip
Sit on a sturdy bench or chair. Place your hands on the edge, fingers facing forward. Extend your legs out. Lower your body by bending your elbows to about 90 degrees, then push back up.
- Keep your back close to the bench.
- Don’t drop too low.
- Do 2-3 sets of 8-12 reps.
Bench dips are easier and help you get used to the dip motion.
Step 2: Try Assisted Dip Variations
Move to the dip station but keep your feet on the ground or a box for support. Lower your body slowly and push back up, using your legs only as much as needed.
- Focus on keeping your shoulders safe—don’t let them roll forward.
- Do 2-3 sets of 5-8 reps.
This step builds confidence and joint stability.
Step 3: Use Resistance Bands
Loop a strong resistance band around the dip station handles. Step or kneel into the band so it supports some of your body weight.
- Lower yourself under control.
- Let the band help you on the way up.
- Do 2-3 sets of 4-6 reps.
This technique is popular because it gives just enough help while still working your muscles.
Step 4: Attempt Negative Dips
Jump or step up to the top position of the dip (arms straight, body up). Slowly lower yourself as slowly as possible, then use your feet to get back up.
- Focus on the eccentric (lowering) phase.
- Try 3-5 slow negatives per set.
This builds strength for full dips.
Step 5: Do Your First Full Bodyweight Dip
Once you can do negative dips with control, you’re ready for a real dip.
- Start at the top, arms locked.
- Lean forward slightly.
- Lower your body until your elbows are about 90 degrees (not deeper).
- Push back up, keeping your shoulders down and back.
- Don’t rush—control every part of the movement.
If you feel sharp pain or clicking, stop and go back to the previous step.
Dip Station Form: The Most Important Points
Good form protects you and gets better results. Here’s what to remember:
1. Shoulder Position
Keep your shoulders “packed”—pulled down and slightly back. Never let them shrug up or roll forward.
2. Elbow Angle
Don’t let your elbows flare out too wide. Aim for about 45 degrees from your body.
3. Range Of Motion
Lower only until your upper arms are parallel to the ground. Going deeper increases injury risk.
4. Wrist Alignment
Keep wrists straight—not bent back. If your wrists hurt, use parallel bars instead of V-shaped ones.
5. Controlled Movement
Lower slowly (2-3 seconds down), pause, and press up. No bouncing or rushing.
6. Core Engagement
Keep your abs tight. Don’t let your body swing or sag.
Small mistakes in form add up over time—focus on quality, not just reps.
How Many Dips Should Beginners Do?
Quality matters more than quantity. For most beginners:
- Start with 2-3 sets of as many clean dips as you can (even 1-2 is fine).
- Rest at least 90 seconds between sets.
- Do dips 2 times per week with rest days in between.
As you get stronger, add reps slowly. Never sacrifice form for extra reps.
When Should Beginners Avoid Dip Stations?
Dip stations are not for everyone, especially at the start. Avoid dips if you:
- Have recent or current shoulder injuries
- Feel pain in the shoulders, wrists, or chest during dips
- Cannot do basic push-ups with good form
- Have been told by a doctor or physiotherapist to avoid dips
There are many ways to build upper body strength. If dips hurt, it’s better to wait, modify, or choose another exercise.
Dip Stations Vs. Other Upper Body Exercises
How do dips compare to other popular moves for beginners? Here’s a quick side-by-side comparison.
| Exercise | Main Muscles Worked | Beginner Friendly? | Injury Risk |
|---|---|---|---|
| Dips | Triceps, Chest, Shoulders | Moderate (with prep) | Medium |
| Push-ups | Chest, Triceps, Core | High | Low |
| Bench Press | Chest, Triceps, Shoulders | Moderate | Medium |
| Shoulder Press | Shoulders, Triceps | High | Low-Medium |
Dips are harder than push-ups and have a higher risk of joint stress, but they offer unique benefits if done correctly.
Common Mistakes Beginners Make With Dip Stations
Avoiding injury is about more than just knowing the right steps—it’s also about avoiding mistakes. Here are common errors and how to fix them.
1. Going Too Deep
Many beginners try to lower their bodies as far as possible. This strains the shoulder and chest.
2. Shrugging Shoulders Up
Letting the shoulders move toward your ears makes injuries more likely. Always keep them down.
3. Swinging Or Rushing Reps
Using momentum instead of muscle control reduces effectiveness and can hurt your joints.
4. Ignoring Pain
Some think pain is normal. It’s not. Any sharp or “pinchy” pain is a warning sign.
5. Skipping Warm-up
Cold muscles and joints are more likely to get hurt. Always warm up first.
6. Wrong Grip Width
Gripping too wide or too narrow stresses the wrists and elbows.
7. Doing Too Many Reps Too Soon
More is not better. Quality comes first.
How To Choose A Safe Dip Station
Not all dip stations are the same. Some are safer for beginners than others. Here’s what to look for:
| Feature | Why It Matters | What to Look For |
|---|---|---|
| Bar Width | Comfort and joint safety | Shoulder-width or slightly wider |
| Bar Shape | Wrist comfort | Parallel bars are best for most people |
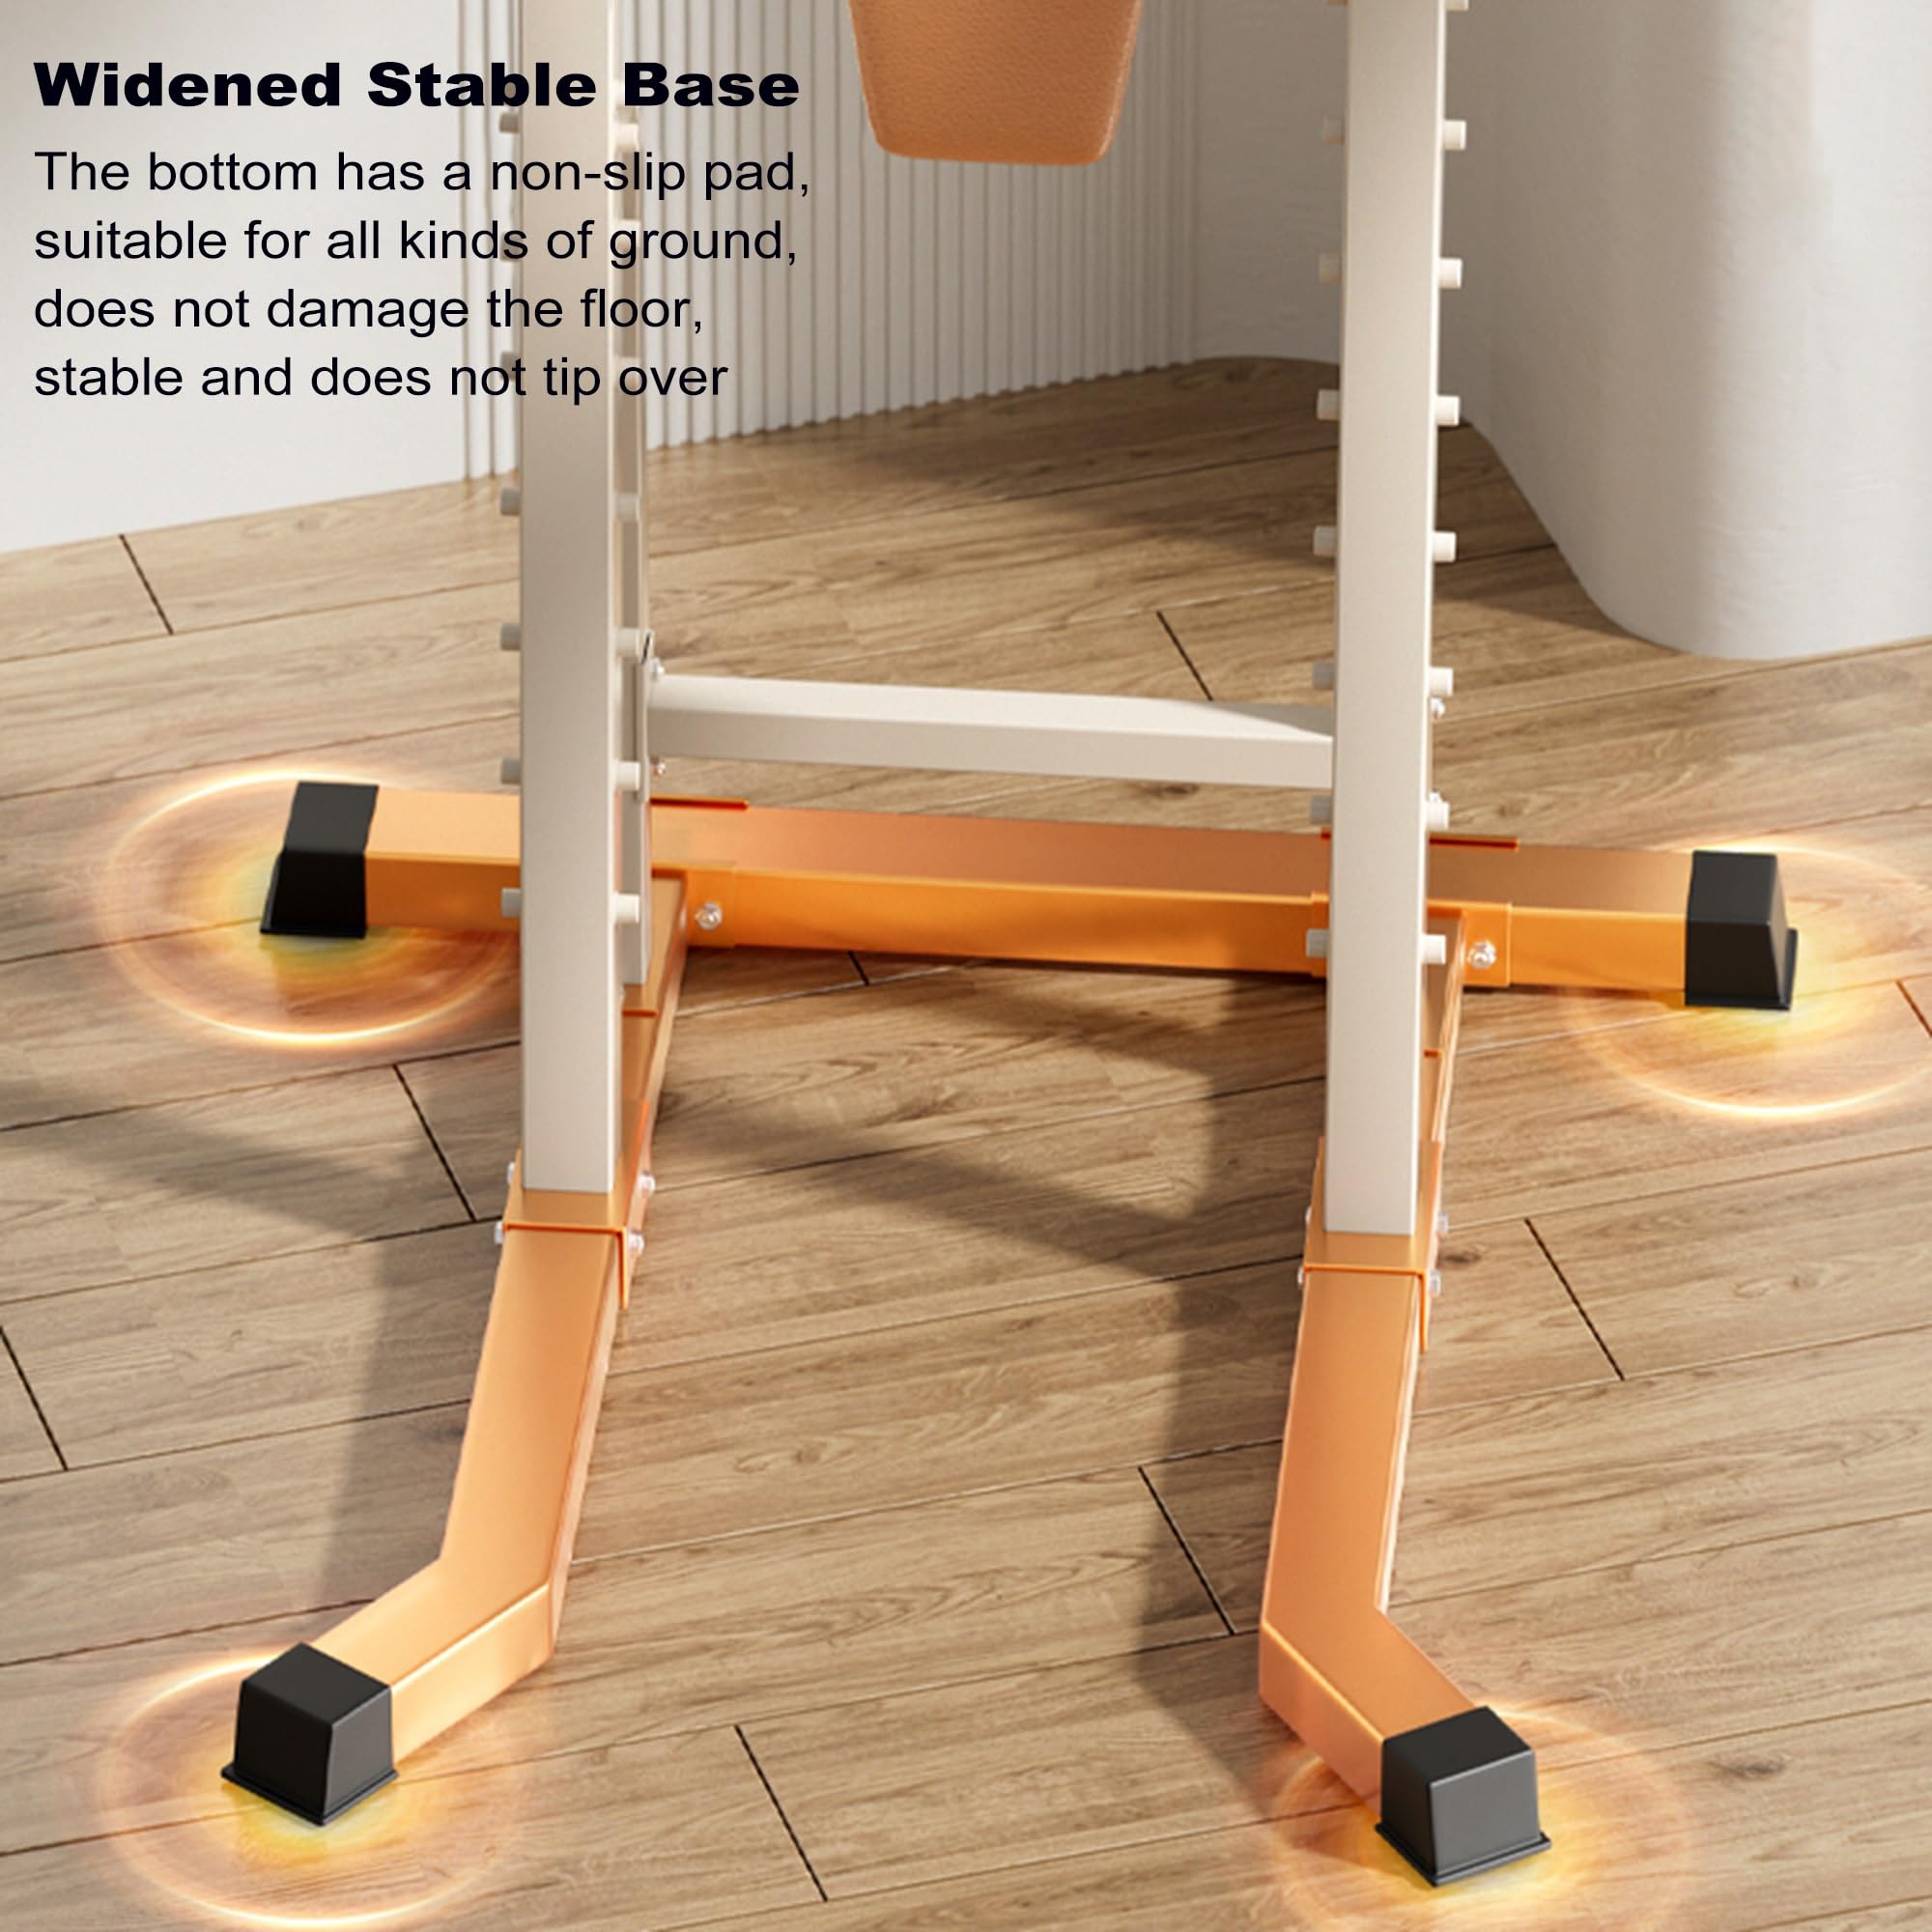
| Stability | Prevents wobbling/falling | Heavier or floor-mounted stations |
| Height | Allows full range of motion | Bars at least waist high |
| Grip Material | Prevents slipping | Rubberized or textured grips |
If you’re buying for home use, read reviews and check weight limits.
Practical Tips For Injury-free Progress
Here are some real-world tips that beginners often miss:
- Film Your Dips
Use your phone to record yourself. You’ll spot form problems you don’t feel.
- Warm Up Shoulders and Wrists
Spend extra time on these areas—injuries here take a long time to heal.
- Progress Slowly
Add only one rep or one new step per week.
- Mix in Other Exercises
Don’t make dips your only upper body exercise. This balances muscle development.
- Take Rest Days Seriously
Muscles and joints need time to recover. If you feel sore, wait an extra day.
Real Beginner Success Story
Maria, a 32-year-old office worker, wanted stronger arms but had never done dips before. She started with bench dips twice a week, then added resistance band dips after two weeks. She filmed her form and realized she was going too deep—she fixed it after watching herself.
It took Maria six weeks before she could do one full dip. She avoided pain by not rushing, and now she can do three clean dips. Her advice: “Don’t compare yourself to others. Listen to your body. Small steps keep you injury-free.”
When To Seek Professional Help
If you feel:
- Sharp pain in shoulders, elbows, or wrists
- Numbness or tingling in your arms
- Joints that feel unstable or weak
Stop dips and consult a qualified physiotherapist or coach. They can help you fix your form or recommend alternatives.
You can also find useful injury prevention guidelines at the American Council on Exercise.
Frequently Asked Questions
How Can I Tell If I’m Ready For Dip Stations?
If you can do at least 10 push-ups with perfect form, hold a plank for 30 seconds, and have no shoulder pain, you’re ready to try assisted dips. Always start with easier variations and listen to your body.
What Should I Do If My Shoulders Hurt During Dips?
Stop immediately. Shoulder pain is not normal during dips. Check your form, reduce your range of motion, or switch to an easier exercise like bench dips. If pain continues, see a professional.
Is It Better To Do Dips With A Resistance Band Or With Feet On The Floor?
Both methods help, but resistance bands give a more natural dip movement and support your full body. Feet-on-floor dips are easier but may not train the same muscles as well. Try both and see which feels safer for you.
How Often Should Beginners Train On Dip Stations?
Twice per week is enough for most beginners. Leave at least 48 hours between sessions for recovery. Rest and recovery are as important as the workout itself.
Can I Use Dip Stations If I’m Overweight?
Yes, but be extra cautious. Start with bench dips or strong resistance bands to reduce the load. Focus on form and joint safety. As you lose weight and gain strength, dips will get easier.
Starting with dip stations can build amazing upper body strength, but only if you move at your own pace and use smart technique. With patience and the right progressions, beginners can use dip stations without injury—and enjoy the results for years to come.
